Reply Integration
Step 1: Authenticate and Authorize via the API Token
- Click on Integrations under Settings
- Turn on the Reply Integration switch
- Login to your Reply.io account and obtain your API key from Settings > API Key
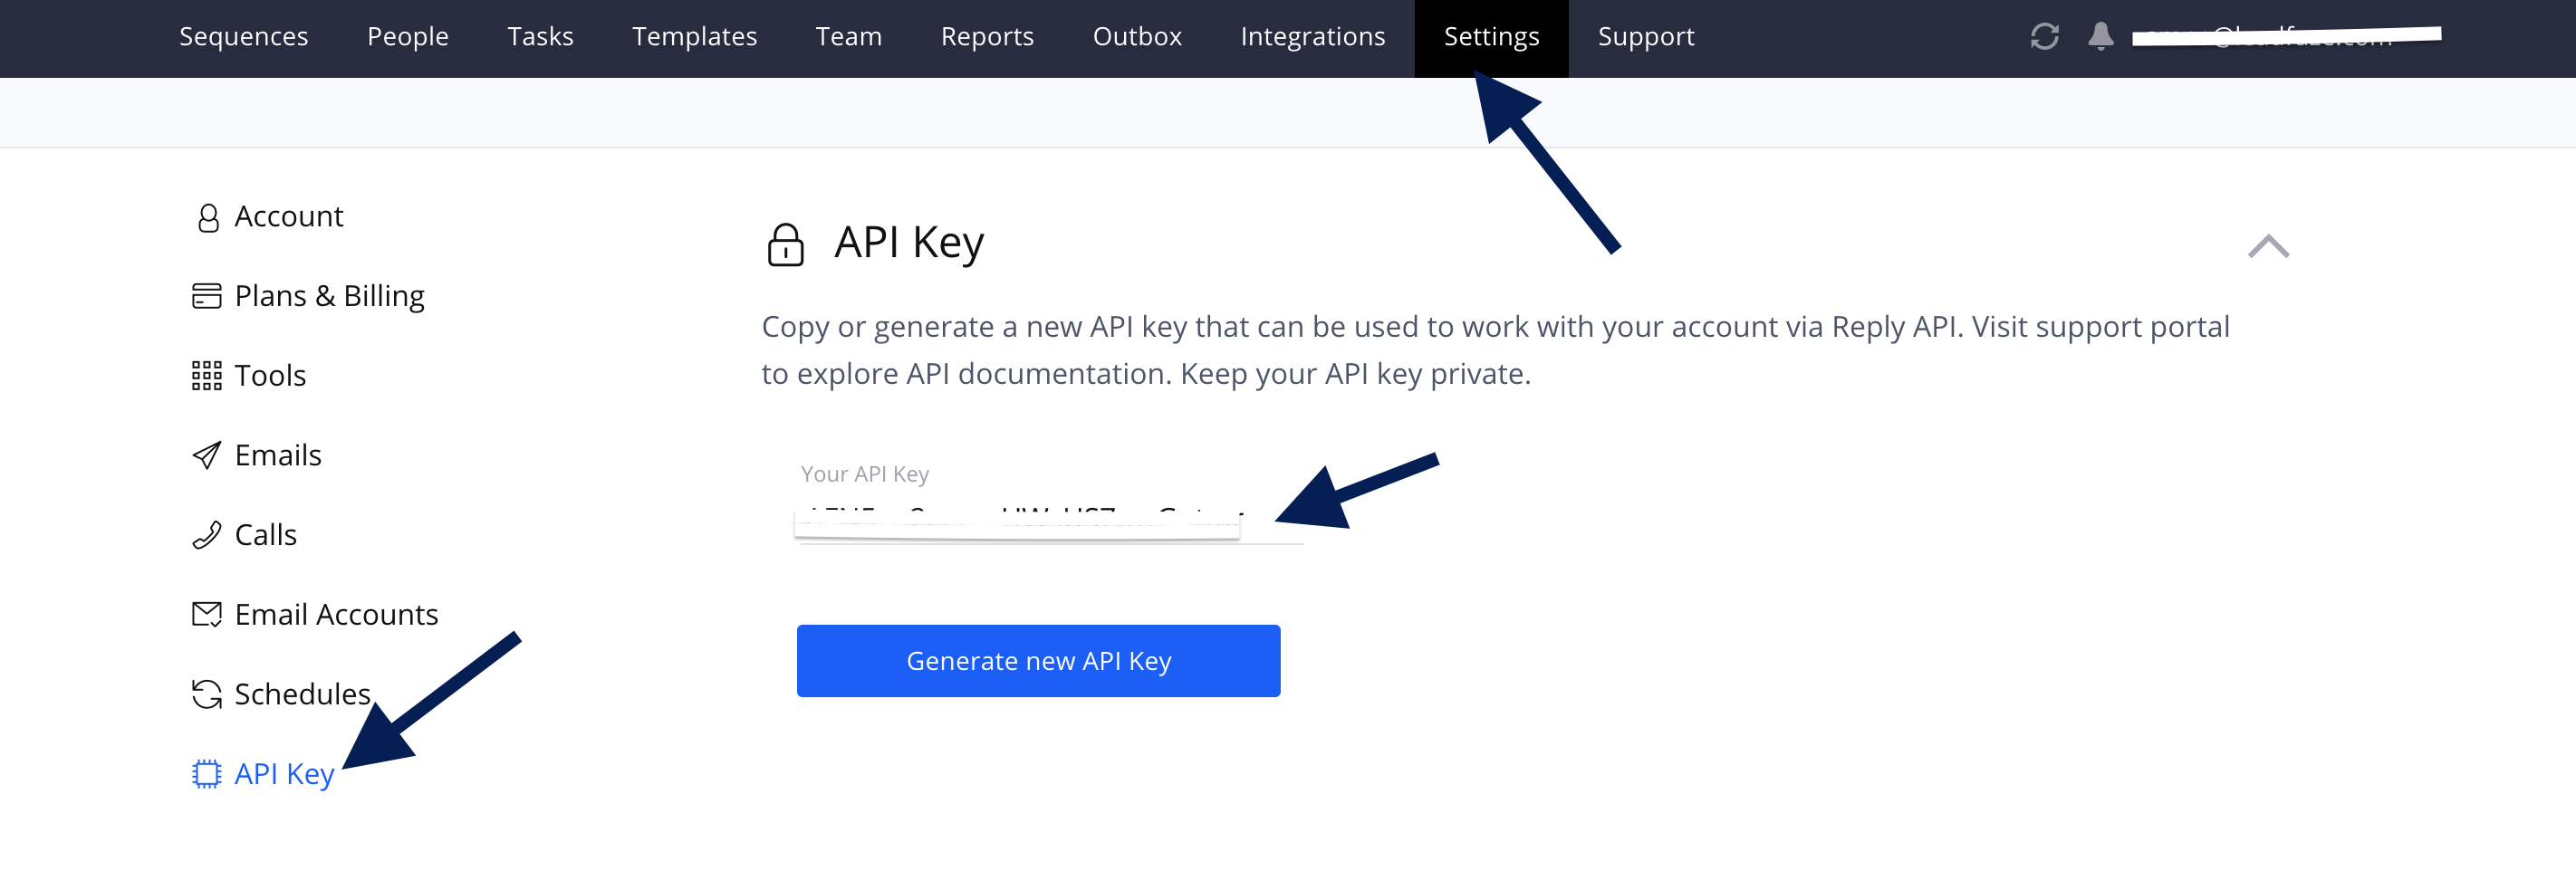
- Copy paste this token into the text field below, choose if you'd like to sync leads Automatically and/or Require Email, then click on Authenticate
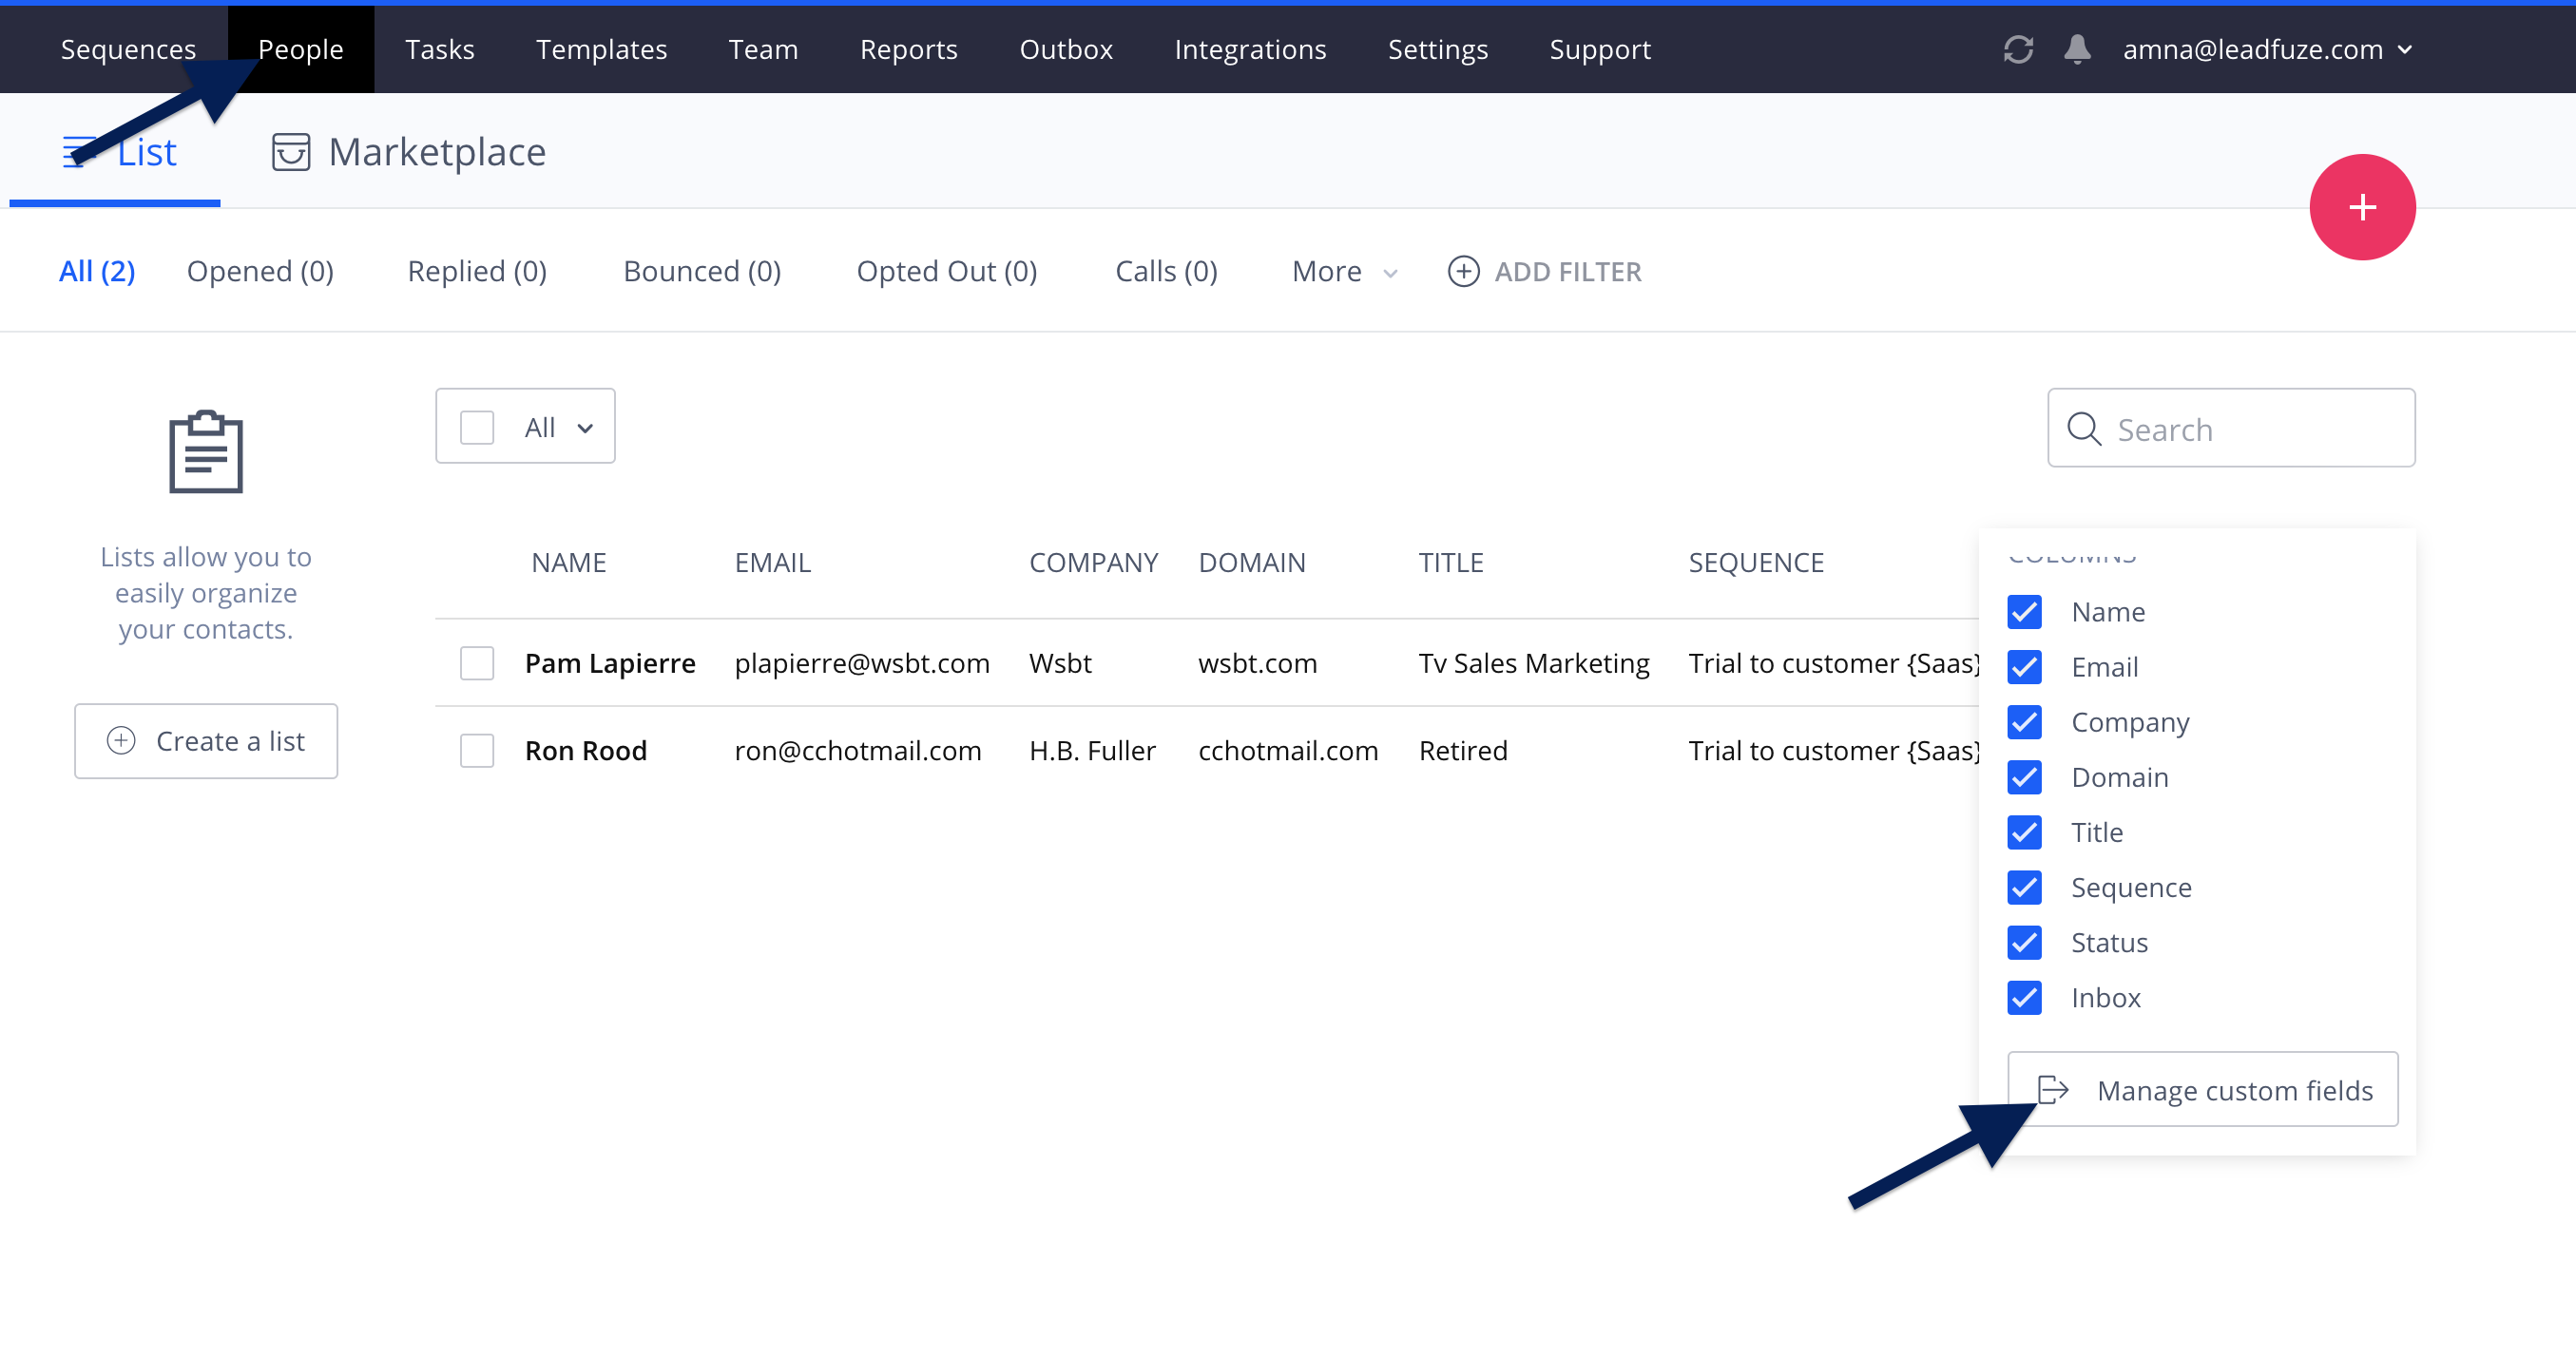
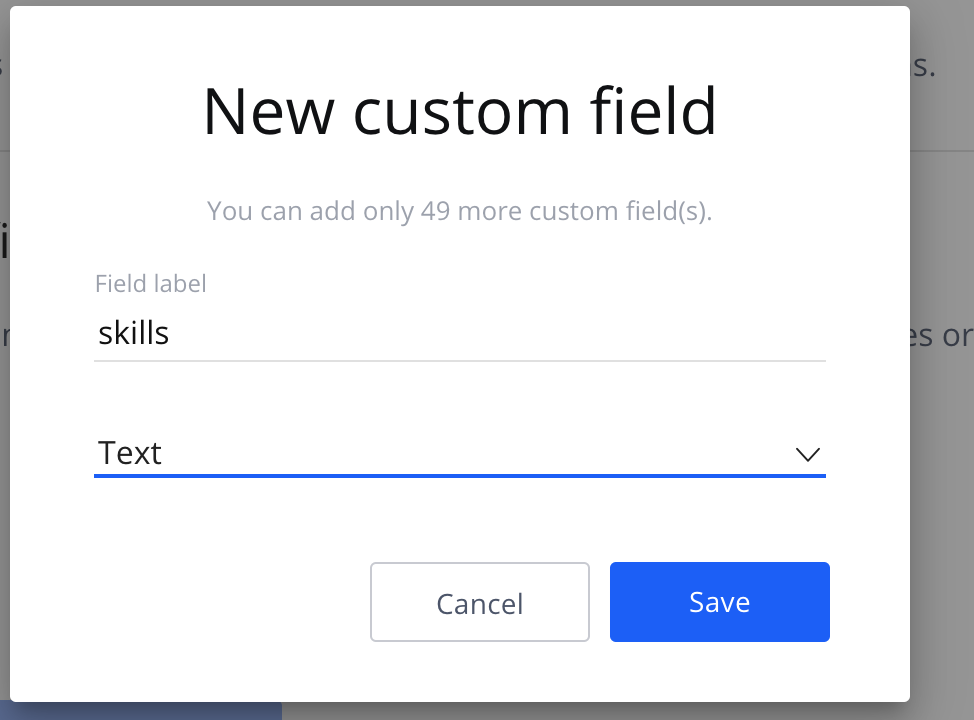
Step 2: Create Custom fields on Reply
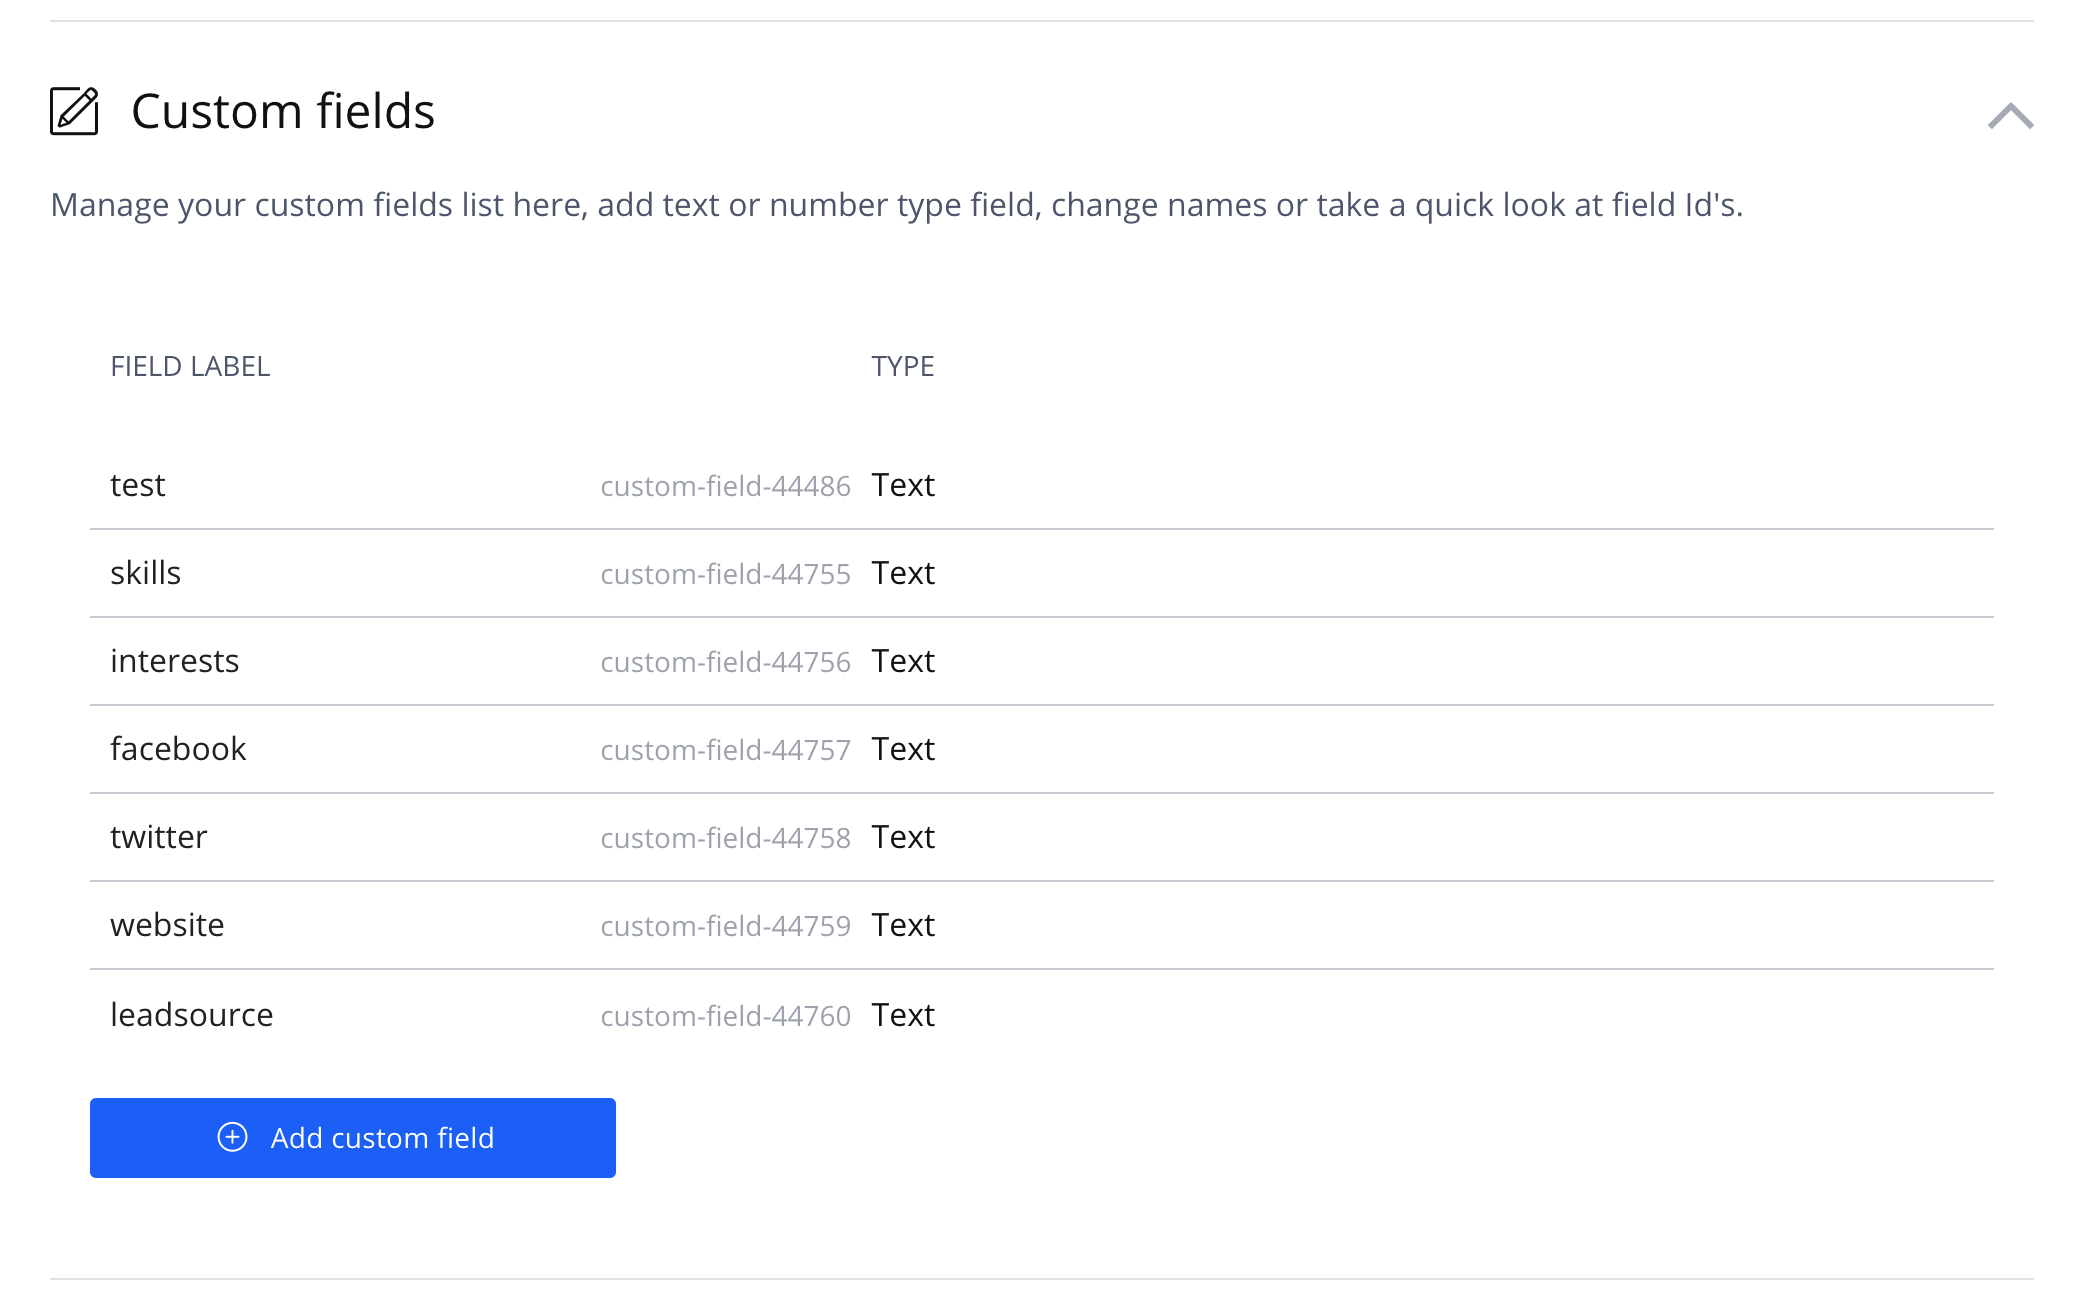
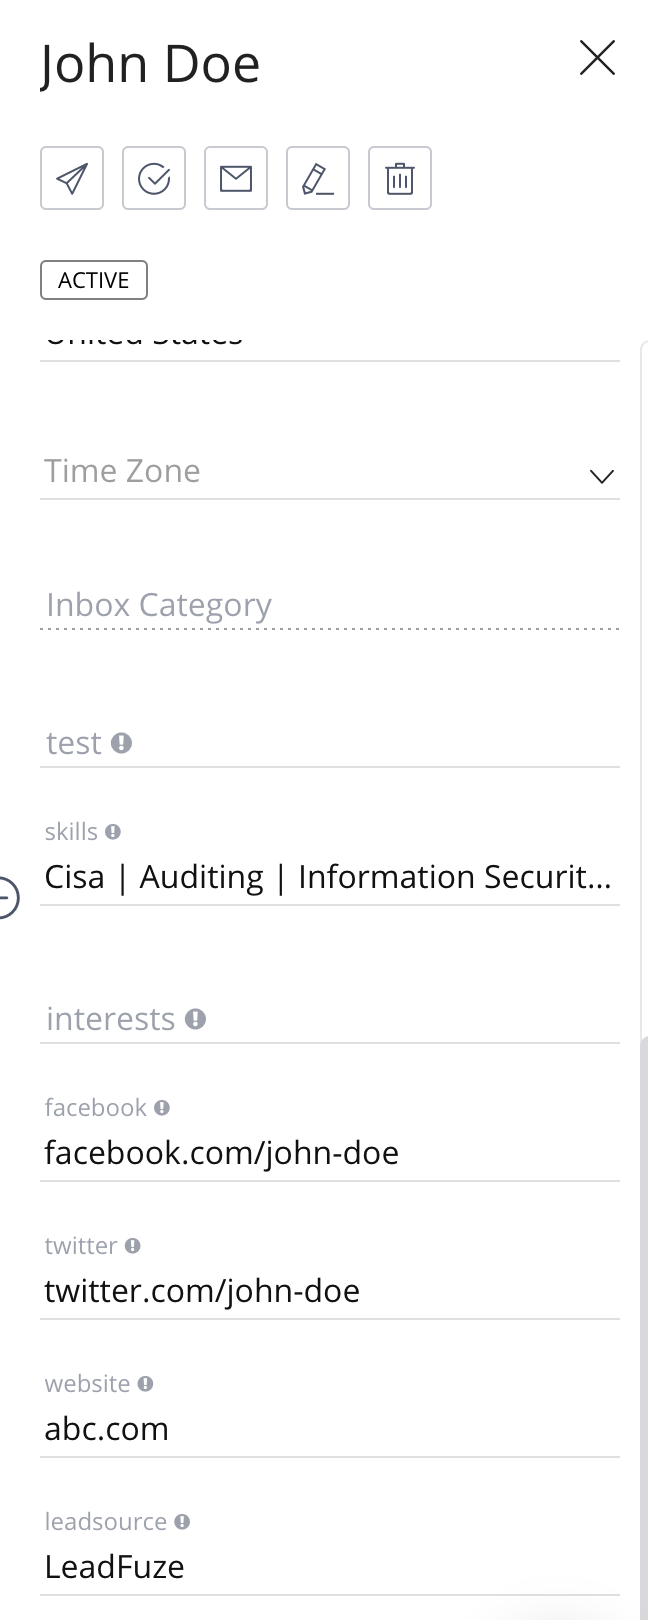
Add the following custom fields (double check the spelling)
- leadsource
- website
- skills
- interests
Step 3: Create a Reply Campaign
- This step can be skipped if you already have a campaign on Reply.io.
- If not, please create a Reply campaign.
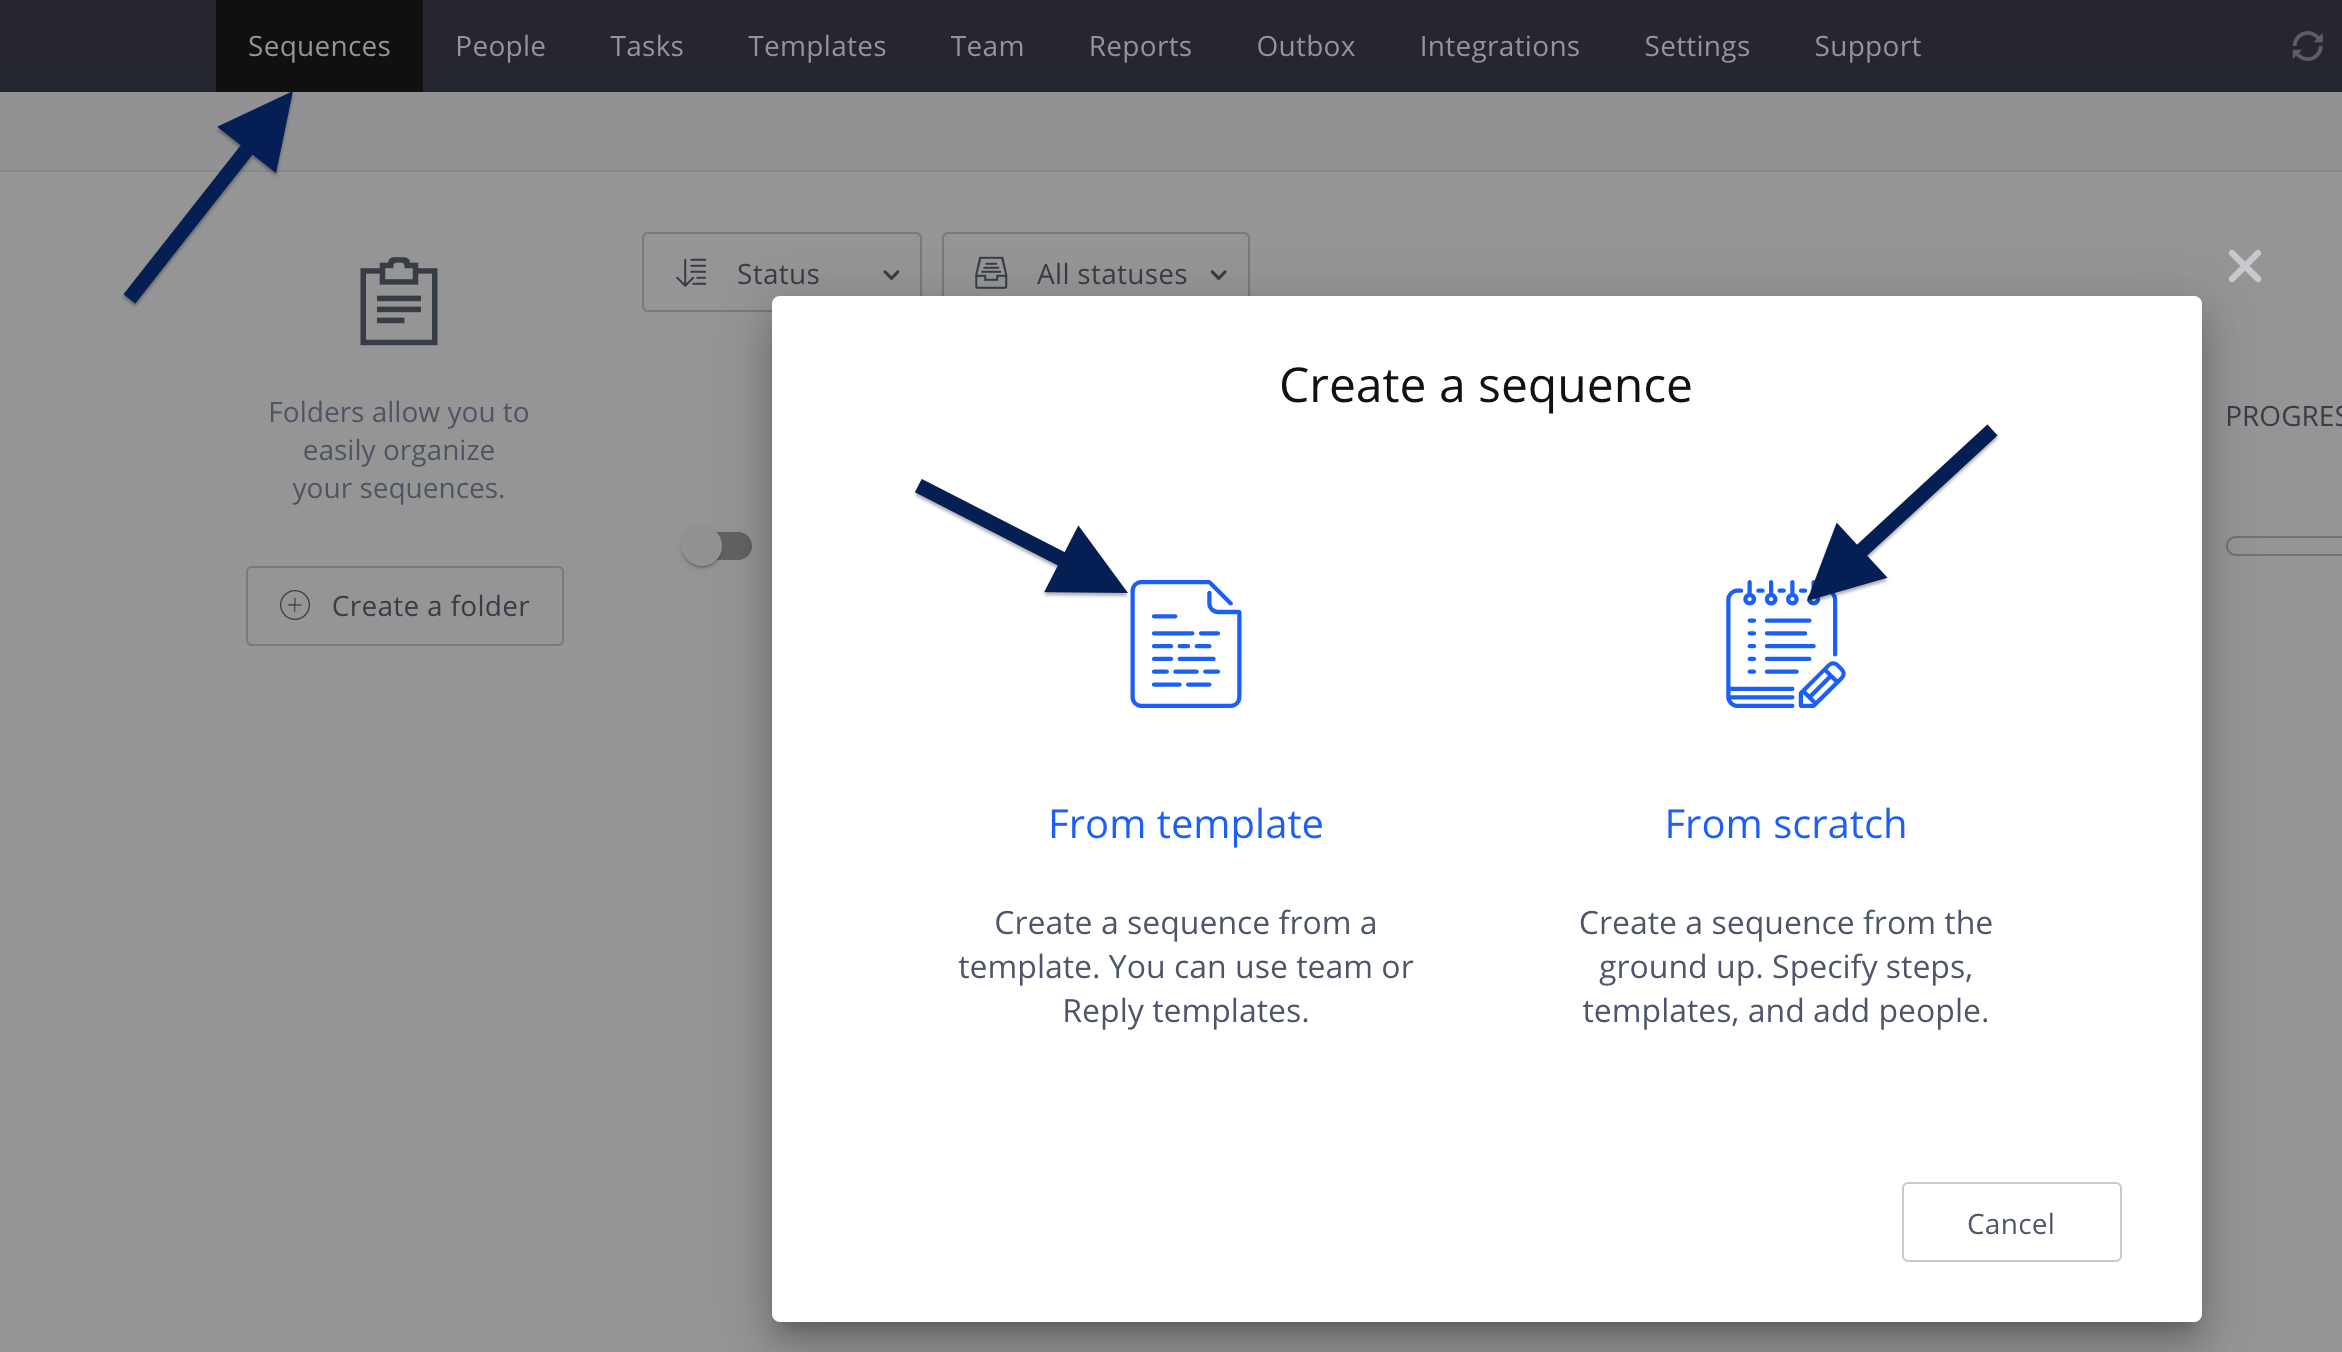
Step 4: Send Leads to Reply
- LeadFuze does not send existing leads to Reply right after authentication as the user hasn’t selected the target campaign yet.
- Choose a list and select a Reply campaign for that list. There are two different ways to send leads to a campaign.
A. Send leads Automatically
- For this to work, make sure the SYNC LEADS AUTOMATICALLY? option was turned on here
- In order to send leads automatically to Reply you need to manually select a campaign for each list you want to export automatically.
- Every time leads are added to that list, they will automatically be sent to the selected Reply campaign.
- Important: If no campaign is selected for the list, leads from that list will not be integrated automatically to Reply.
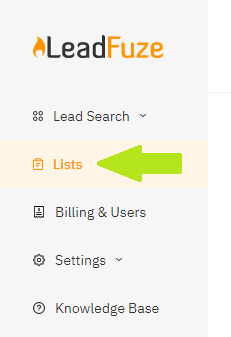
- Click on Lists under Lead Search
- Then click on the 3 dots to the right of the list you wish to manually send to Reply

- Click on Integration Settings > Reply
- Choose a campaign and hit Save
- Leads from this list will now be automatically sent to the chosen campaign.
B. Send leads Manually
This is useful when:
a. List has no default campaign to automatically send leads to.
b. To change the campaign for a lead that was sent to Reply automatically by LeadFuze.
- Within your Lists, click on Show Leads to the right of the list where the leads you'd like to send manually are saved
- Select the leads by clicking on the check boxes to the left of each then click on SELECTED LEADS OPTION
- Then click on Send Selected To > Reply
Step 5: Verify the data
A list of people will be uploaded to Sequence > People
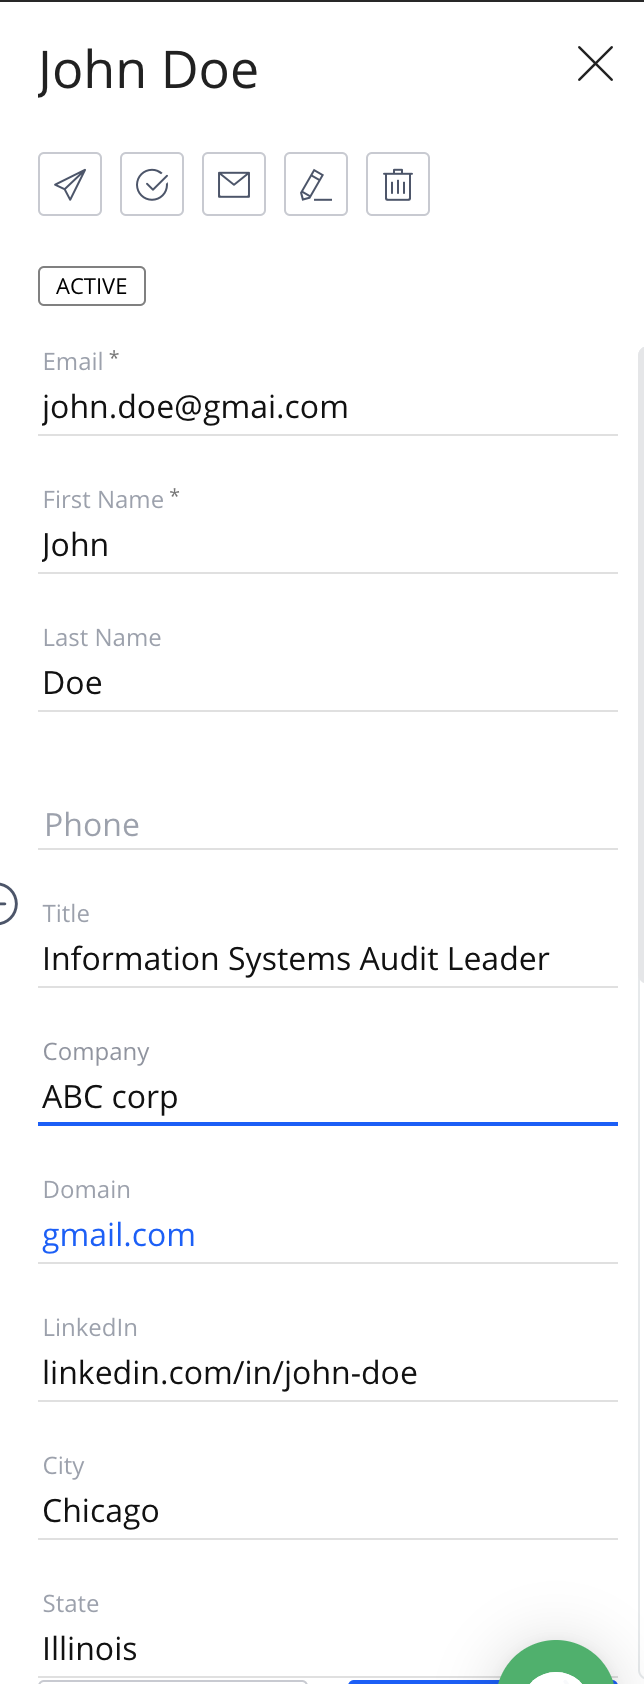
That’s all there is to it!
