

SalesFlare CRM Integration
Step 1: Authenticate and Authorize via the API Token
First, log into your SalesFlare account to grab your API key!
Copy the resulting API key.
Click on Integrations under Settings

Turn on the SalesFlare Integration switch

Paste the token into the text field, choose if you'd like to sync leads Automatically and/or Require Email, then click on Authenticate

Step 2: Send Leads to SalesFlare
A. Send leads Automatically
For this to work, make sure to turn on the SYNC LEADS AUTOMATICALLY? option here:
This sends ALL your lead data into SalesFlare.
For the leads that respond, you’ll be able to quickly generate opportunities in your pipeline. All leads are added with a LeadFuze tag so you know where they came from.

You would use Automatic syncing if you want all your contacts in place to better track outbound sales efforts, In particular, for multiple users or reps so that you know the rep who performed the outreach is assigned.
B. Send leads Manually
Conversely, not turning on the option to sync leads automatically allows you to take things one step further.
Select specific list/s you want to send to SalesFlare by clicking on Lists under Lead Search
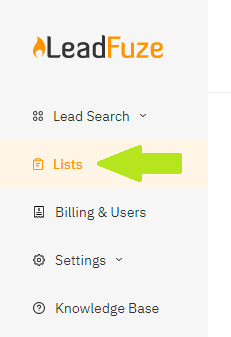
Then click on the 3 dots to the right of the list you wish to manually send to SalesFlare

- Click on Integration Settings > Salesflare

Or Select specific lead/s you want to send to SalesFlare by clicking on Lists under Lead Search
- Within your Lists, click on Show Leads to the right of the list where the leads you'd like to send manually are saved

- Select the leads by clicking on the check boxes to the left of each then click on SELECTED LEADS OPTION

- Then click on Send Selected To > SalesFlare
